My DIY Peloton Setup | How I Created an At-Home Cycling Studio


IMG_4571.jpg
IMG_4738.jpg

Hello, friends! Today, I'm talking about my DIY Peloton setup and my full spin bike review all in one day - whew! Like many people, during lockdown I've been forced to figure out how to continue my workout routine at home - something I very rarely did before lockdown. It's been a learning process and I have some parts of my setup that I love and others that I don't love so much so stick around to learn more!

Why create a DIY Peloton Setup?

Before lockdown, my favorite kind of workout was 100% cycling. Although I used to vary my workouts a lot between cycling, yoga, barre, and boxing, cycling was always my go-to and where I felt most at home. Yoga and barre are pretty simple to recreate at home but cycling? Pretty much impossible! Halfway through lockdown, I found myself really missing my cycling workouts so I decided to take the plunge and create a setup that would allow me to take cycling classes at home.

The second reason I opted for DIY setup was pretty obvious - because of the cost! I enjoy being able to switch up my fitness routine and am a firm believer in being able to adapt your health and fitness routine to certain seasons of life. The peloton itself will cost you at least $2000+ and the subscription another $40/month. Since I do not plan on doing peloton classes every single day, the price tag of a whole peloton system didn’t seem worth it to me.

My Setup:

diy-peloton-11.jpg

Sunny Health & Fitness Spin Bike

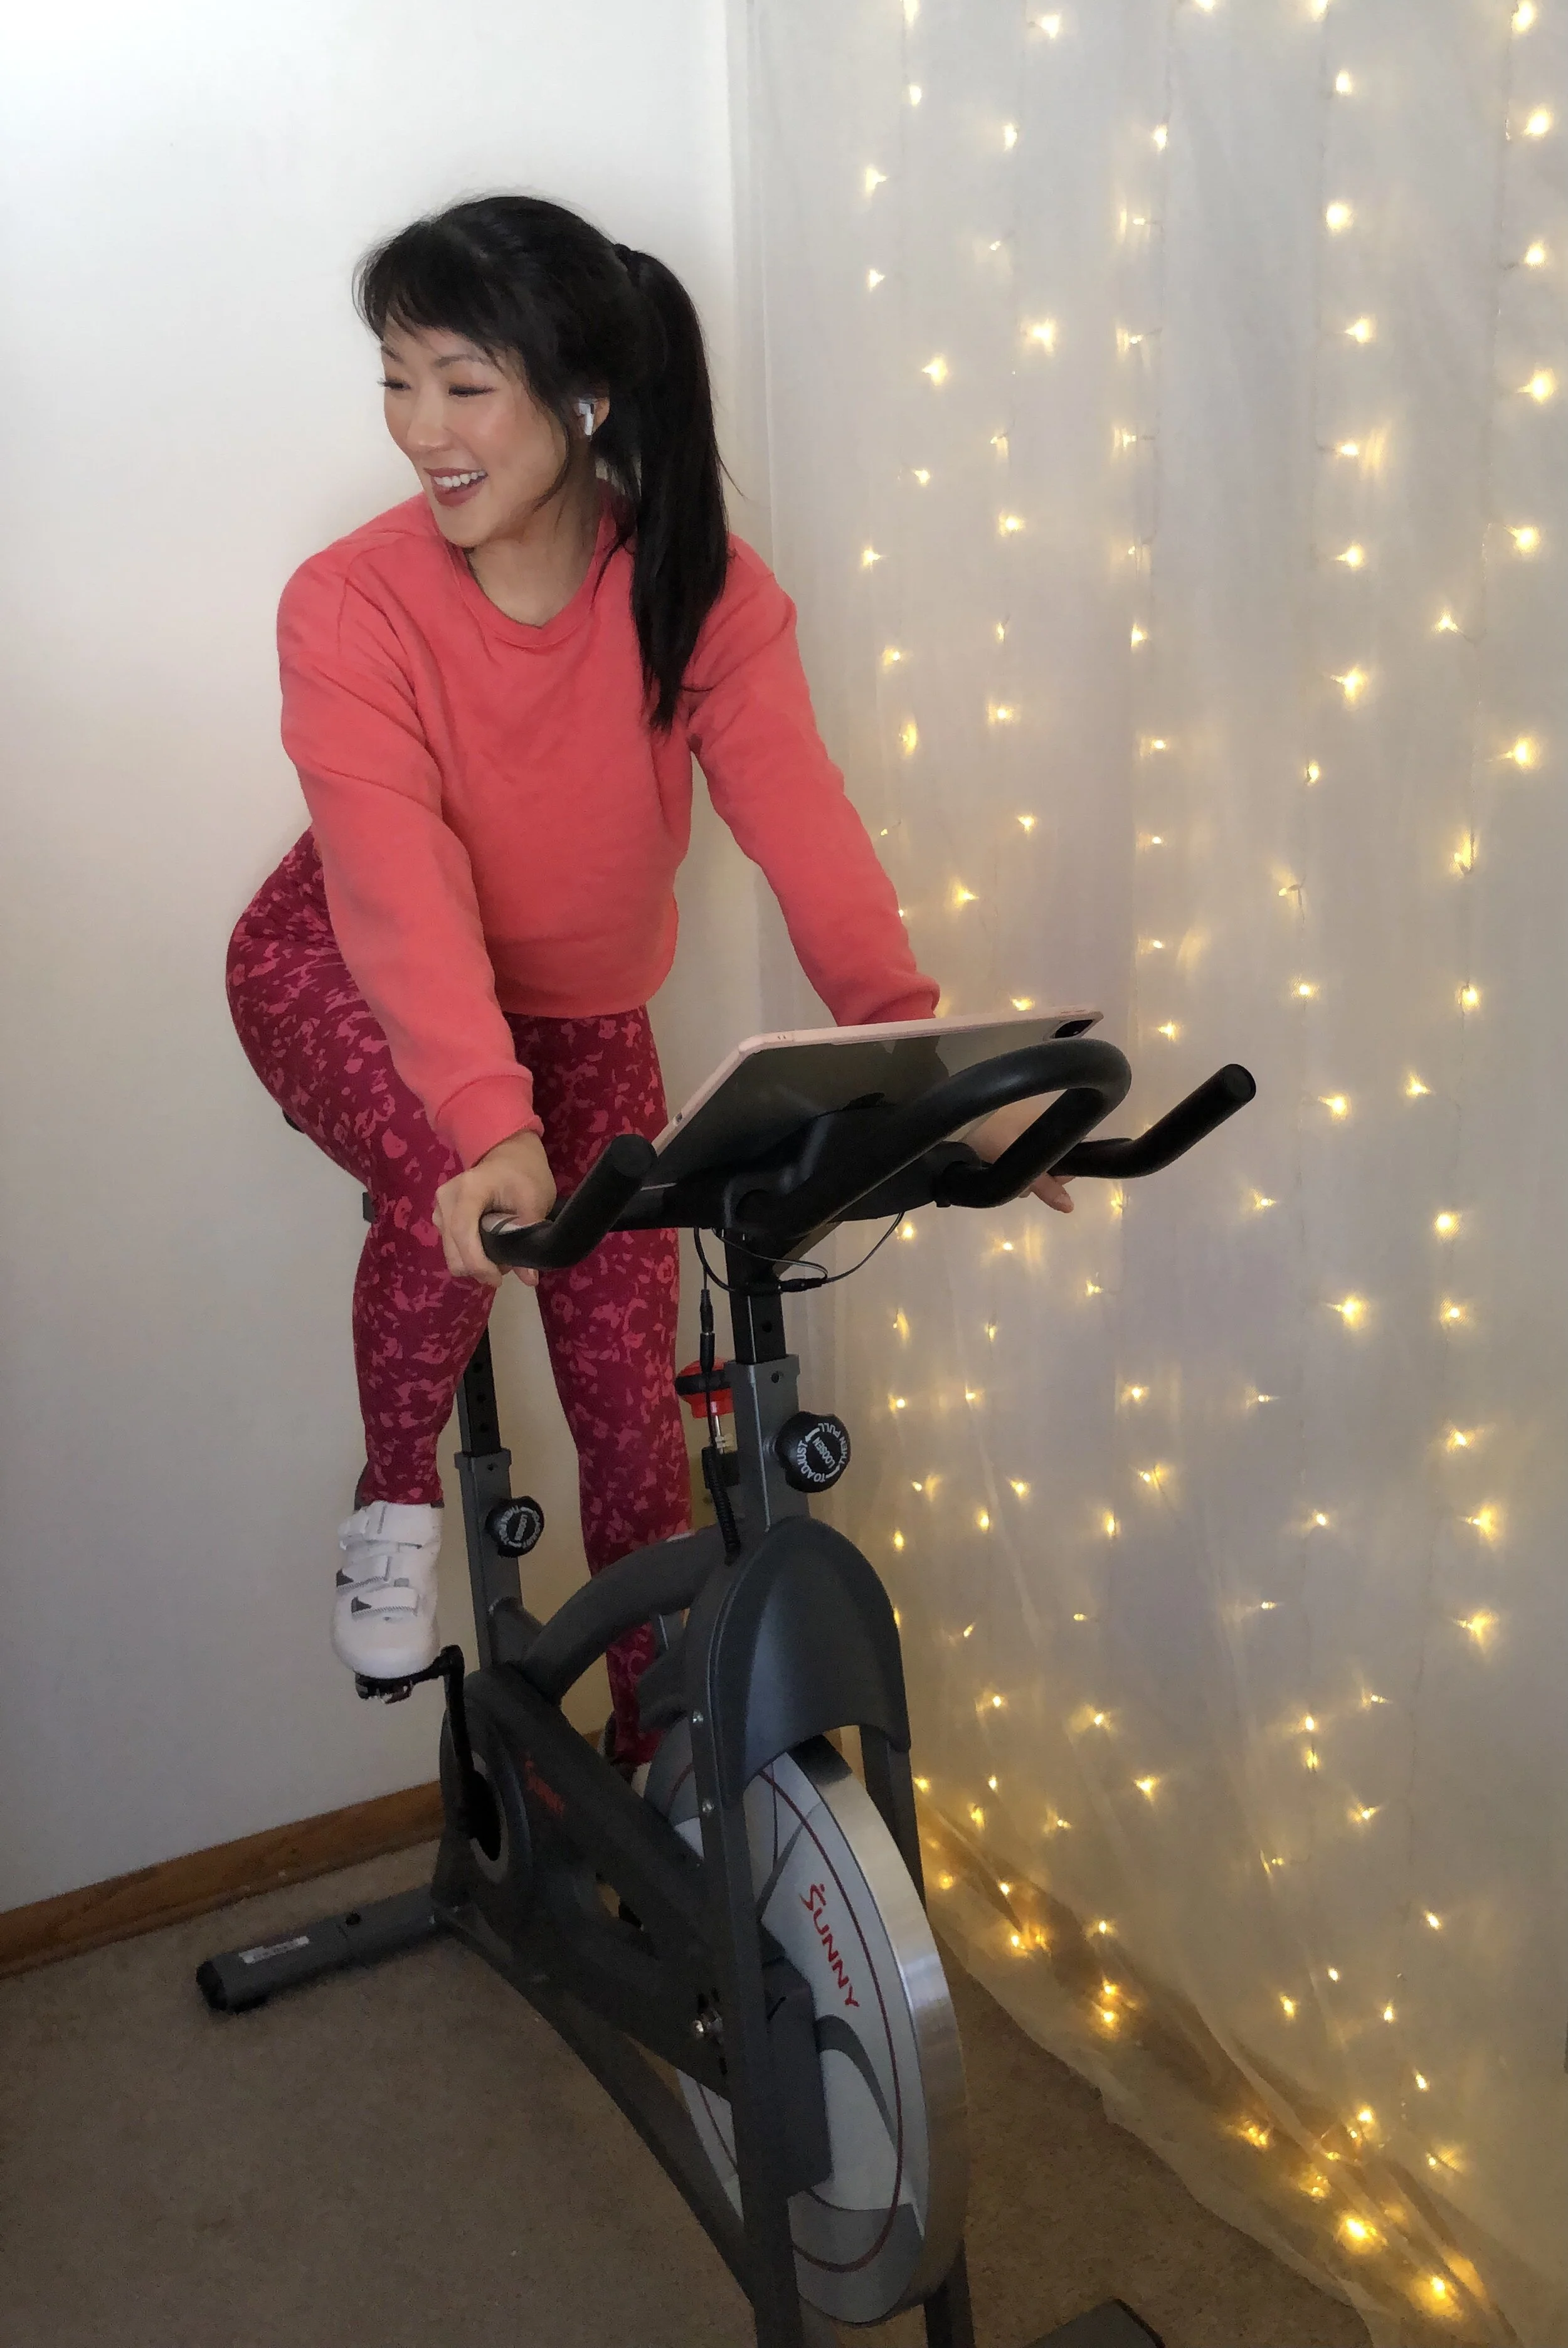
For my spin bike, I chose a Sunny Health and Fitness Spin Bike with magnetic resistance and belt drive. Both of these features make the bike feel more similar to the cycling studio experience. I've had a whole load of ups and downs with this spin bike which I wrote about in a whole review post about the bike. I love that the bike is pretty seamless to put together and has a simple digital screen that tracks distance and RPM (not all spin bikes track this and it's pretty crucial in any music-based spin class). The specific bike I purchased also comes with a table stand which was the perfect fit for my specific use case where I throw my tablet on the bike to watch spin classes on the peloton app.

I absolutely love that this bike has made working out at home so much more enjoyable, but there were A LOT of cons to owning this particular bike. Long story short - I can't recommend this bike because it requires way too much maintenance for someone with no bike tech experience, but I'm learning to live with the bike because I've already purchased it and don't want to contribute to more waste by dumping the bike. If you're considering buying from this brand, check out my full review before buying and proceed with caution!

diy-peloton-5.JPG

Peloton App

If you like cycling classes in-person, the peloton app is a great alternative that has a ton of different spin classes, instructors and music styles. I’ve had the peloton app for over 3 months and I still haven’t had a chance to take classes with every instructor because more classes (and more instructors!) are added all of the time. Also, if you’re not into cycling classes, the peloton app offers tons of other types of fitness and wellness classes (meditation, yoga, stretching, running etc.) that make the monthly $13 a month more worthwhile.

diy-peloton-10.JPG

Shimano Spin Shoes + SPD Cleats and Cleat Adapters

I already owned a pair of spin shoes, cleats, and adapters to use at my local spin studio so it was nice to be able to finally use them at home! The spin shoes I own use SPD cleats which meant I also had to purchase cleat adapters - so before you buy, make sure you know what cleats and cleat accessories you may need because it can definitely add up!

diy-peloton-6.JPG
diy-peloton-7.JPG

SPD Clipless Pedals

The bike I purchased came with cage pedals so I purchased a separate set of clipless pedals in order to be able to use my spin shoes. This is by no means necessary but it certainly makes the experience a little more fun! The pedals were super easy to install and I will definitely be keeping the cage pedals in case anyone else in my family intends to use the bike in the future.

diy-peloton-9.JPG

Set of Handheld Weights

I bought a set of handheld weights from Amazon a while back and they have served me VERY well. The set comes with 3 sets of weights - 2 lb, 3lb, and 5 lb which covers most of my at-home workouts.

A couple nice-to-have things I also used with my DIY peloton set up were my iPad, Apple Watch, and fairy lights that were already hung up in my office. These things were by no means necessary, but it was nice to be able to play the peloton classes on my iPad, track my workouts simultaneously on my Apple Watch, and create a nice cozy ambience with the lights!

diy-peloton-4.JPG
IMG_4921.jpg

For me, creating the cycling setup was actually super simple. Since prioritizing my health and fitness routine, I had already purchased my own pair of cycling shoes/cleats and a set of handheld weights for off times when I did happen to work out at home. The apple watch and iPad are both devices I use on a regular basis for my everyday life that were simple to incorporate into my setup. The only new purchases I had to make were the bike itself, the SPD clipless pedals and the peloton app.

diy-peloton-12.jpg

The upsides:

  • More affordable compared to a full Peloton bike setup. The actual Peloton bike will set you back anywhere between $2,000-$3,000 depending on what add-ons or accessories you need. On top of that the Peloton subscription is around $40 for Peloton bike users but is only about $13 a month for app users. In all, I spent around $380 for my spin bike and while again, I wouldn't recommend the specific bike I bought, there are plenty of much better bikes from reputable companies that are available for a fraction of the cost of a Peloton.

  • Flexibility - Having the bike and the tablet separate allows me to take peloton classes wherever I am. Though peloton bike users can also take classes on their devices, the tablet it comes with is connected to the bike and only truly serves one function. I really like that I have an iPad that serves the same function, but outside of my workouts can be used for a million other things in my personal and grad school life.

  • This would also be great for those of you who enjoy changing up your workout routine. The peloton app is great because it offers tons of different workouts but if you're not ready to commit to the $40/mo + $2,000+ price tag and aren't sure you'll use the peloton bike all the time, it may not be worth it to spend on the whole peloton system. Although I'm still subscribed to the peloton app, I've found myself mostly using it for meditation and strength workouts rather than cycling because I've enjoyed watching other videos while I'm cycling. If you're not ready to commit to hardcore taking all of the peloton cycling classes, then starting with your own bike and just the app let's you change up your workouts without feeling guilty 🙂

The downsides:

  • You don't get as many features (like numbers/stats wise) as you would on a normal peloton bike. On the app you can also see other people taking the class but you’re limited in that you can’t really interact with other riders as much or see where you are on a leaderboard. For me, this isn’t a huge downside since I always turn off leaderboard stats in face-to-face cycling classes anyway, but if you’re someone who is motivated by getting ahead on the leaderboard, then this could be demotivating.

  • Bike quality. Obviously, the bike I personally bought was lower in quality than that of a peloton bike but I think this could have been overcome if I had purchased a different bike.

IMG_4591.jpg
IMG_4700.jpg

All in all, I am really in love with my current cycling setup. It doesn't take up a lot of space in my apartment and it feels like a little workout oasis - especially if I cycle early in the morning when the whole apartment is quiet and only lit by the fairy lights. The biggest struggle I had working out during quarantine was not enjoying my workouts because all I could do were HIIT workouts. I'm so happy that this set up allows me to finally do workouts I love again.

loveellasize300signature.png

Shop Similar:

Top 7 Tech Recommendations for Grad Students | PhD & Productivity


techrec3.jpg

Outside of the obvious computer or laptop, it can be difficult to figure what tech you might need for grad school. Here I've done a little round-up of the technology that has made a huge difference in my experience as a grad student so that you can decide for yourself what to get if you're new to grad school or even if you're just looking to upgrade your work life! I hope you enjoy and don't forget to leave a comment down below if you have any questions!

techrec8.jpeg
techrec9.jpeg

iPad and Apple Pencil

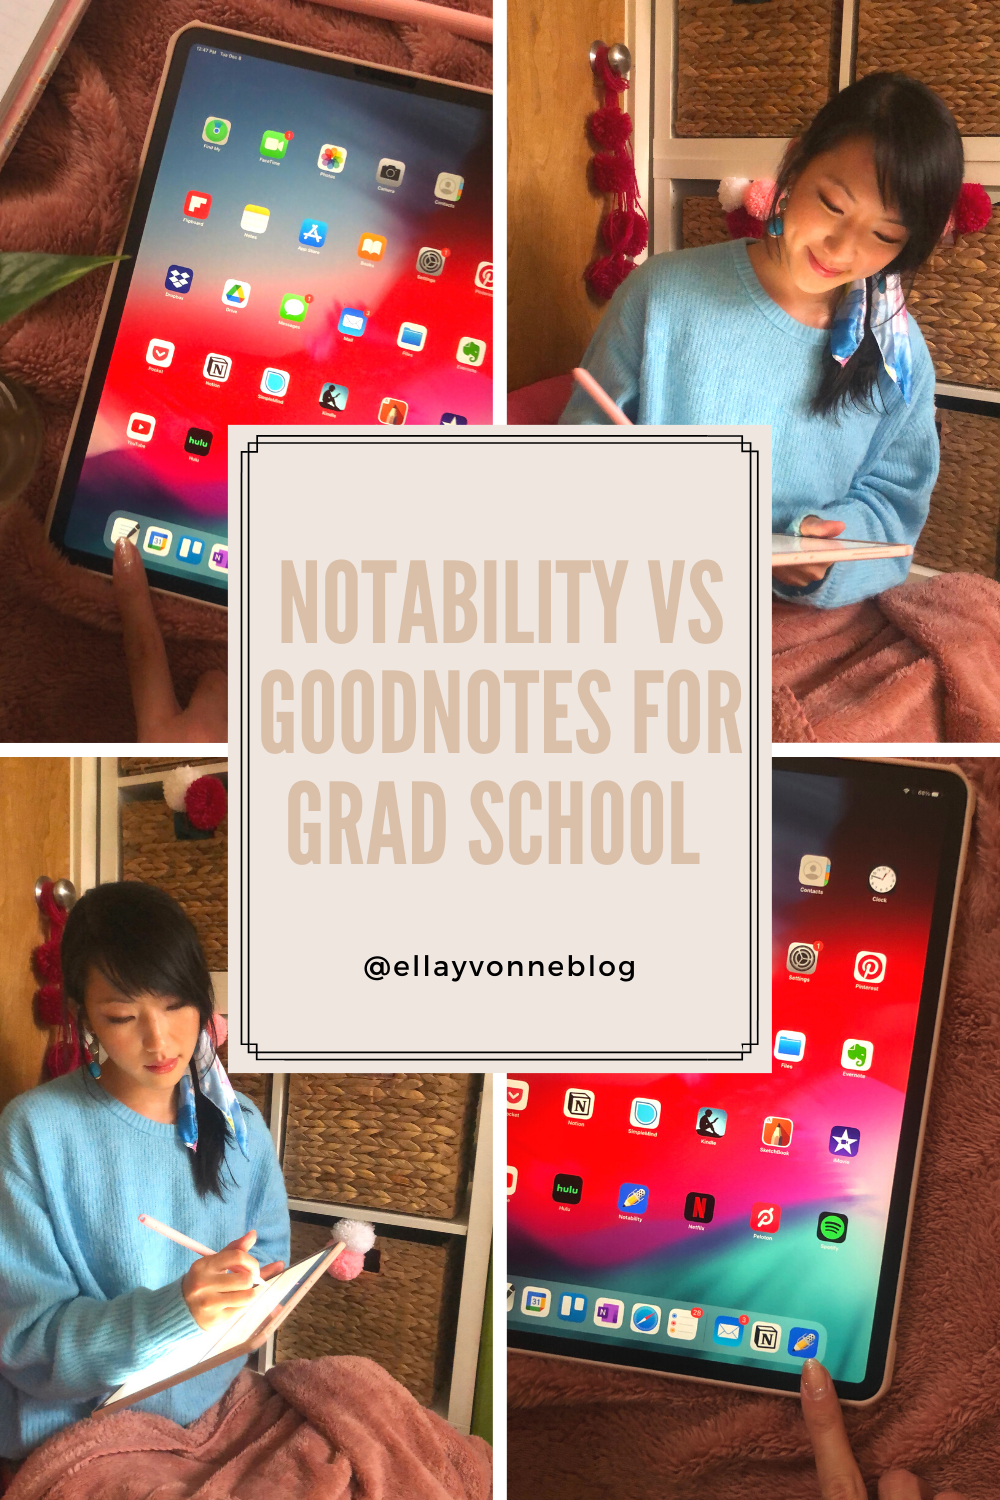
I've been a longtime fan of the iPad but when I added the apple pencil to the mix during grad school, it was a game-changer. I've already written about this couple of times so clearly I cannot hype up the iPad + Apple pencil combination enough! In grad school, especially if you are in a research-focused master’s or in a PhD program, you will read a million and a half journal articles. If you don't have some kind of tablet device to put those papers on, you're likely printing them out or reading them on your computer. For me, the table and pencil experience mimics that of real pencil and paper but better. I love being able to highlight and take notes as I normally would but also be able to easily erase and move notes around. When you're in grad school, efficiency is the key to work-life balance and my iPad + Apple Pencil has truly made my life a TON easier.

My iPad Set-up

P.S. If you're curious about how I use my iPad for grad school check out these two other posts: How I use my iPad for Grad School and What's on my iPad: Grad Student Edition

techrec1.jpg

Noise-canceling Headphones

After my iPad, my Bose noise-canceling headphones come in a very close second for my MVP grad school tech accessory. I am someone who needs peace to be able to focus on difficult reading and writing tasks. Since grad school is 99.9% reading and writing, noise-canceling headphones have been crucial to my productivity because they block out a lot of the random noises here and there that might break my focus. Much of grad school life is spent in public spaces like shared offices, labs, libraries, and campus buildings but my noise-canceling headphones truly make me feel like I'm in my own little bubble which allows me to focus better on the work in front of me. During COVID times, I've found that my noise-canceling headphones also help to drown out noises at home, too, like neighbors walking around upstairs or police sirens outside. My favorite noise-canceling headphones are my Airpods Pro and Bose QuietComfort. They've both been in my life for a couple of years and are still functioning seamlessly.

techrec6.jpeg

Hard Drive(s)

Before starting grad school I had absolutely no clue how quickly my computer storage would fill up but a couple of months in, my computer was running so slow that I had to do a complete overhaul of how I store and manage my files. Although a single data or word file is quite small, when you add that up over the course of a semester and then multiply that by about 100 versions of every paper or article you've ever submitted, it all adds up quickly. I currently own two hard drives, one from Seagate and one from WD, because I have an intense paranoia that one of them will fail on me. Considering I don't store all of my files on my computer because it slows my computer's performance down, depending on one hard drive was too precarious for my psyche so I opted for two hard drives in case one fails and a cloud drive service to back it up even further. I'm not perfect by any means (I frequently forget to back up my devices for a year at a time) but when I do decide to back things up, I make sure to back it up in multiple places 😜

Cloud Drive Service

As I mentioned, I also depend on a cloud drive service to back up my files. I primarily use google drive because I prefer the interface and I receive free unlimited storage through my university. If cloud storage system is provided by your university (which it probably is!) take advantage of that ASAP! Pretty much every researcher I've ever worked with uses a cloud drive service because it's easy to share files and folders with other people on the same project and it allows you to back up your research files in multiple places automatically. I use google's backup and sync function as well which means that every time I make a change to a document, if it lives in my google drive, it's automatically updated and I can access the updated version across all of my devices. This makes things so much easier and more importantly, gives me peace of mind that if any of my devices does ever break down that my files will still be safe elsewhere

techrec5.jpeg

External Monitor, Mouse, and Keyboard

I used to work on huge external monitors when I was a corporate recruiter but, realistically? I probably could've survived on a simple laptop screen. For grad school though? An external monitor is absolutely essential for me. Okay, okay maybe not absolutely but depending on the task it can make me 10 times more productive. If you've never analyzed data before, having external monitors are crucial because you usually need to have your code, your data, your ouput, and a couple of google pages up all at the same time which is damn near impossible on a tiny laptop screen. Even if you aren't analyzing data, you're likely writing papers for classes or for publication and when it comes to academic papers you're most likely referencing a million and a half other papers that will need to be accessible - and one tiny laptop monitor just isn't going to cut it. Along with that, it's helpful to have both an external mouse and keyboard so that you can most efficiently use your external monitor rather than having to use your laptop.

You don't have to be as extra as me, but I've always found myself to be most productive when I'm able to use a mouse so I make sure to have a couple floating around my home and school offices so that I am always making the most of my time rather than being slowed down by my macbook's trackpad. They're helpful whether you're on the go or you're just working at home. Personally, I have an older apple magic keyboard and apple magic mouse but actually much prefer the two non-apple mice I have - one battery powered one from logitech and another rechargeable one from amazon

techrec7.jpeg
techrec4.jpeg

Smart Watch

This isn't a must-have necessarily but I've found my smartwatch extremely helpful in everyday grad school life. I have the 3rd generation apple watch and have had it since the beginning of graduate school. Primarily, I use it to keep track of my calendar and health - both really important in grad school - but now I also use it display the weather right on my wrist and as a timer for my pomodoros. Most recently, I've been experiencing some anxiety and have been using the "breathe" watch face which shows an animation that guides you through deep breaths. I take advantage of this watch face right before I teach my class to prepare myself and love that it's so accessible and reminds me to take a moment to breathe.

techrec2.jpeg

Aaaaaall the adapters

This probably applies to everyone, but especially if you are a mac user like myself, I highly recommend getting like every adapter under the sun. Although I love my MacBook pro, since it only has an USBC port, giving presentations, teaching classes, and connecting to external monitors or USB drives is a massive pain in the butt. Many universities have places where you can borrow adapters, but their availability may be questionable and you do not want to be stuck in a position where you have to give a presentation but you don't have the right adapters for whatever AV system is available in the room. I've saved my own butt a number of times by throwing all of my adapters in my bag before heading out the door. It's a bit of an annoyance to have to get all of these adapters, but definitely worth it in the long run. If you have MacBook pro like I do, I recommend getting a USBC to HDMI converter, a USB to USBC one, and one of these all-in-one hubs that covers the rest of your bases. It may feel unnecessary at first, but I promise that having these around will make your life much, much easier.

loveellasize300signature.png

Shop Similar:

You might also like: